Stay informed
Subscribe to our newsletter if you'd like to stay informed about Shoutem Extensions and Shoutem UI Toolkit.
Extensions can have multiple screens in the app. Screens are React components that represent a mobile screen. We want our Restaurants extension to have 2 screens; one for the list of the restaurants (which we already made in Getting Started) and another for the details of each particular restaurant the user taps.
Since the app needs to know which screen to open first for some extension, we need to create a shortcut when creating that screen. A shortcut is a link to the starting screen of an extension. It’s the item in the Main Navigation which opens the starting screen when a user taps on it.
We created the List screen with a shortcut in Getting Started using:
$ shoutem screen add List
? Screen name: List
? Create a shortcut (so that screen can be added through the Builder)? Yes
? Shortcut name: restaurants
? Shortcut title: Restaurants
? Shortcut description: A shortcut for List
...
Success
The CLI modified the extension.json to include the screen and it’s shortcut:
#file: extension.json
{
  "name": "restaurants",
  "version": "0.0.1",
  "platform": "1.0.*",
  "title": "Restaurants",
  "description": "List of restaurants",
  "screens": [{
    "name": "List"
  }],
  "shortcuts": [{
    "name": "Restaurants",
    "title": "Restaurants"
    "screen": "@.List"
  }]
}
They were added inside arrays. The name property uniquely identifies these extension parts. A shortcut’s title is what will be shown in the Main Navigation (in the Builder and in the app). The screen property inside shortcuts references the screen that will open when a user taps on that shortcut in navigation.
When referencing any extension part, we need to say which extension it came from. The full name of extension part follows this structure: <developer-name>.<extension-name>.<extension-part-name> (e.g. tom.restaurants.List). For extension parts within the same extension, you can just use @.<extension-part-name> (e.g. @.List). @. stands for <developer-name>.<extension-name>. of the current extension.
The Shoutem CLI also created app/screens/ folder with a List.js file, which you edited in Getting Started.
The app folder from your extension will be bundled (along with the rest of the extensions your app uses) into the full React Native app. For your extension to use an npm package, just install it inside the app folder.
Below is an example of installing React Native swiper (just an example, no need to execute following 2 commands).
Locate to the app folder and install the package with saving the dependency in the package.json:
$ cd app/
$ npm install --save react-native-swiper
This package would be installed when bundling your extension into the app. You would be able to access it in any file in the app folder.
The app expects extensions to export their parts (e.g. screens) in app/index.js (that’s standard JS practice). Extensions are like libraries and other extensions can reuse what they export from app/index.js. The convention is that app/index.js is the public API of an extension and shouldn’t be changed often.
The current index.js looks like this:
#file: app/index.js
// Reference for app/index.js can be found here:
// http://shoutem.github.io/docs/extensions/reference/extension-exports

import * as extension from './extension.js';

export const screens = extension.screens;

export const themes = extension.themes;
On the other hand, app/extension.js is managed by the CLI and you should not change it. When creating screens, the CLI writes their location in app/extension.js which are exported in app/index.js.
We already did this in Getting Started, but let’s elaborate on it. Since the app is managed through the Builder, we needed to push the extension to Shoutem and install it into our app so we can use and preview it in the Builder.
We then opened the app in the Builder and added the extension’s screen to Main navigation. Installing new extensions and adding their shortcuts to the app requires you to reconfigure your local clone, which we also did using shoutem configure.
Let’s preview your app again. We can preview it in the Builder, but it might take some time while the Builder bundles the entire app again. Every time you change an extension, you’d have to push it again and then the Builder would need to re-bundle the whole app to add the changes. It’s much faster to set up your local environment and simply use react-native run-ios or react-native run-android.
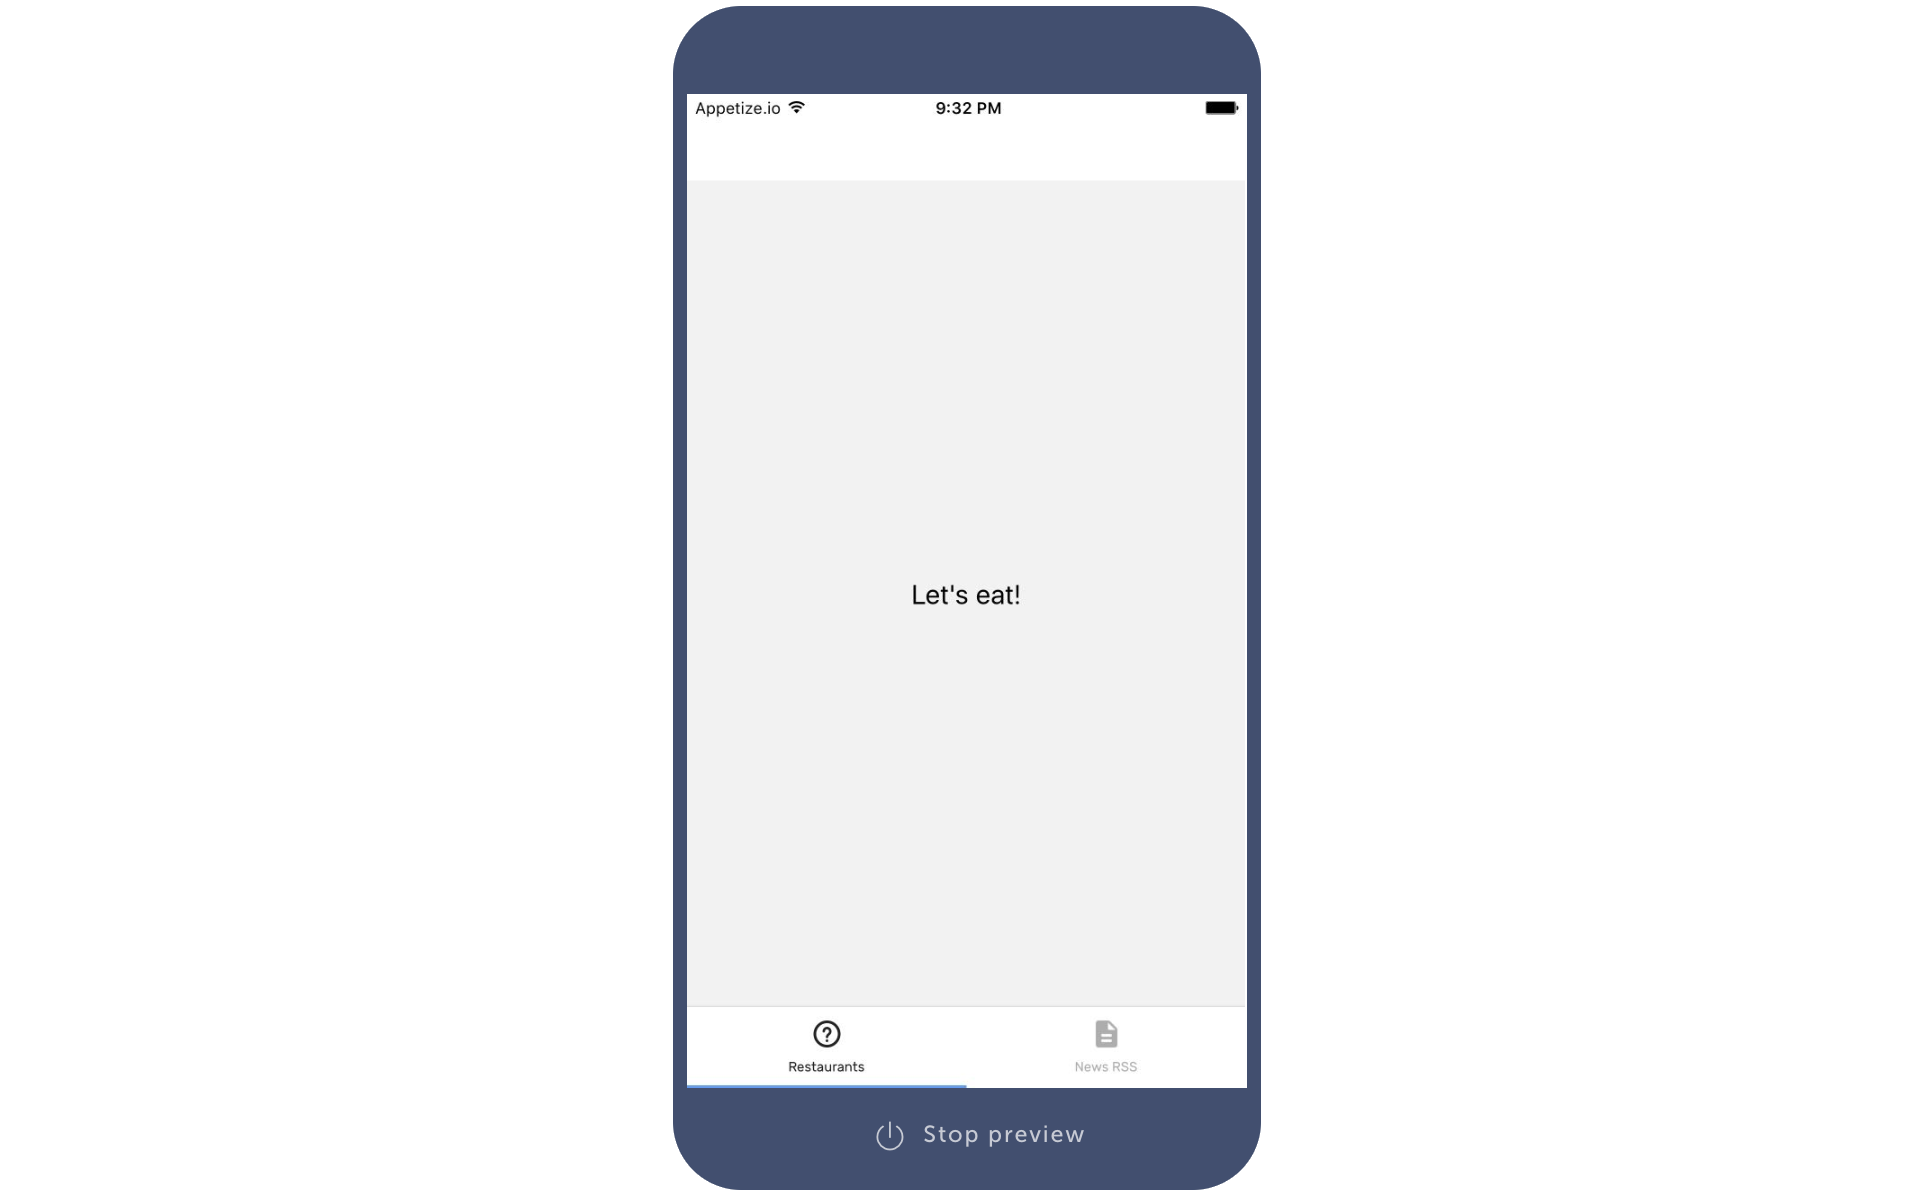
Let’s preview the app and see where we stopped in Getting Started.
$ react-native run-ios
Scanning folders for symlinks in /path/to/Restaurants/node_modules
...
Note
In the documentation the preview you see is from the Builder, instead of a screenshot from the Shoutem Preview app or a local emulator. This way you’ll see the state of the web interface as well.
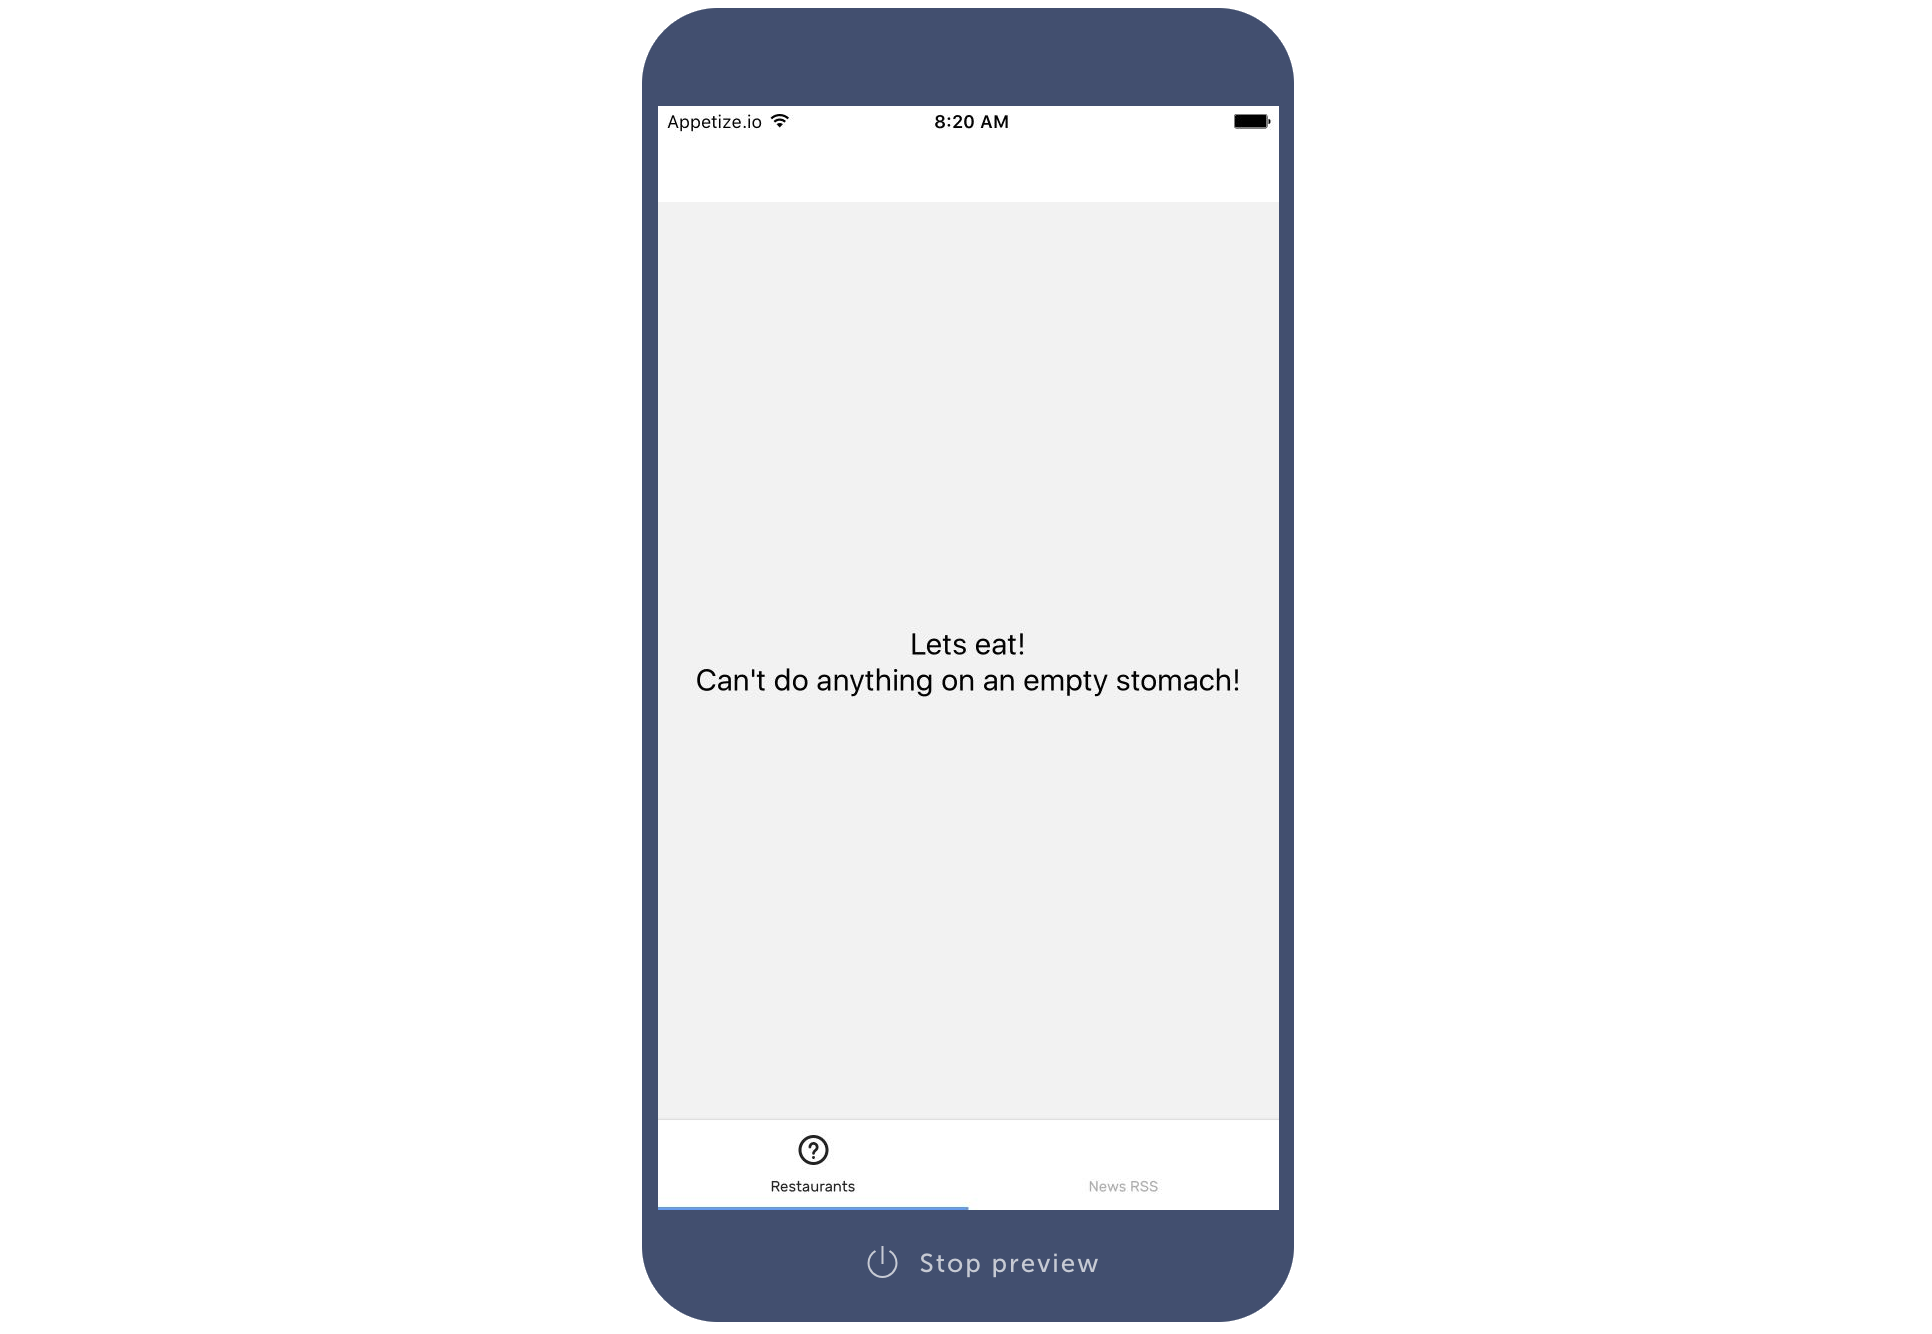
Now let’s make a quick change to the app code so you can see it change in real time on the emulator. Open your restaurants extension’s List.js screen file and add another line of text:
#file: app/screens/List.js
export default class List extends Component {
  render() {
    return (
      <View style={styles.container}>
        <Text style={styles.text}>Let's eat!</Text>
        <Text style={styles.text}>Can't do anything on an empty stomach!</Text>
      </View>
    );
  }
}
After reloading the emulator, your new line of text should be visible immediately:
Your extension only has a simple screen right now, let’s add some UI components.