Stay informed
Subscribe to our newsletter if you'd like to stay informed about Shoutem Extensions and Shoutem UI Toolkit.
Shoutem is a platform that enables you to build, publish and manage high-quality native iOS and Android apps. It’s built on top of React Native and open sourced for developers. The philosophy behind Shoutem is to let you build apps efficiently without restricting you on how to use React Native.
The efficiency of building apps is achieved with a simple architecture: apps are built using smaller modules called extensions. An extension is a self-contained and complete functionality that can be reused. Everything in the app is an extension: navigation, places (list and details), push notifications, analytics, ads, etc…
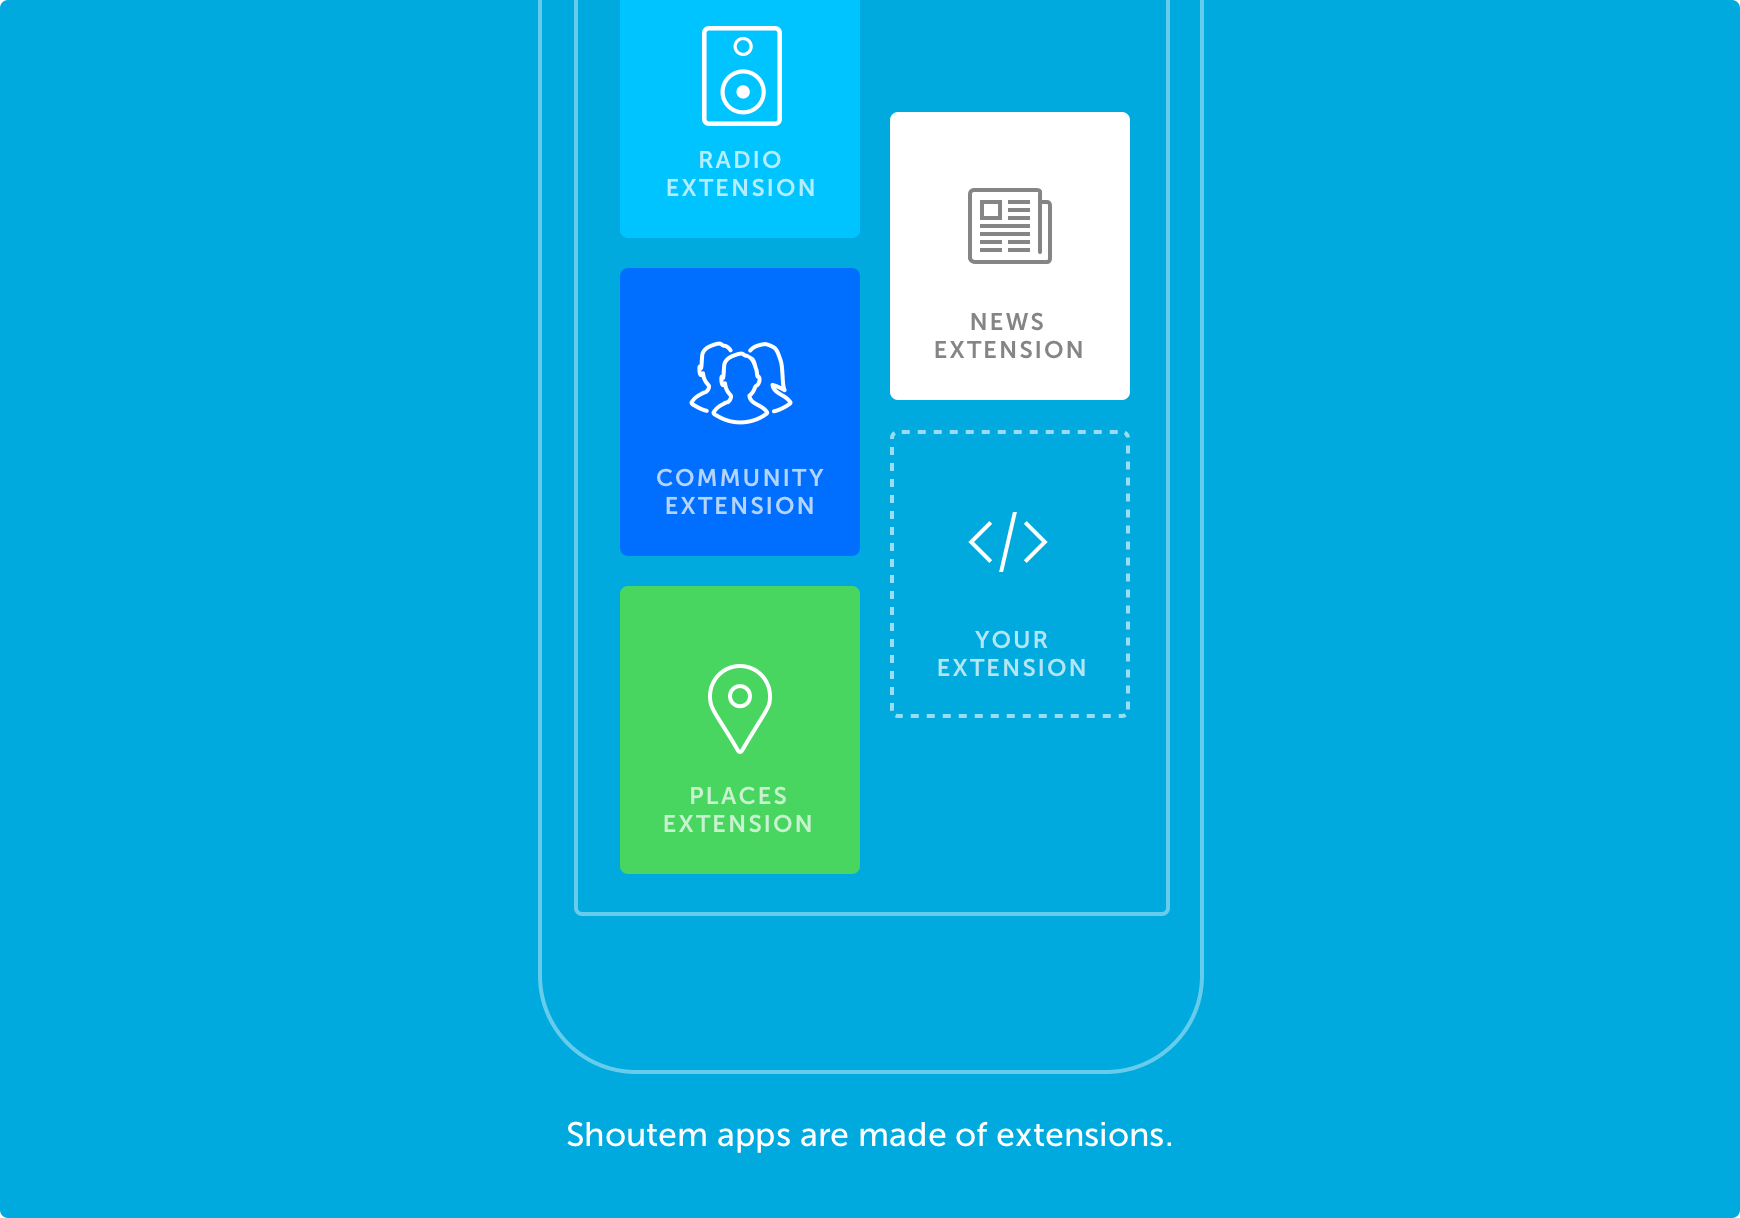
Shoutem prepared and open sourced a lot of extensions that you can use in your apps. Don’t reinvent the wheel: reuse extensions which are suitable for your app, customize them or create new ones. It’s the world-first WordPress-like solution for mobile apps.
Shoutem apps are managed on a beautiful web interface called the Builder. It allows you to host your project online and make it customizable for non-technical people, which is perfect for a developer’s clients. It also allows developers to save time setting up a part of their app so they can focus on their own unique features.
Before going through this tutorial, make sure you’ve installed the following:
Node.js also installs npm)$ npm install -g react-native-cli$ npm install -g @shoutem/cli$ npm install -g yarnpip3 install fonttools (after installing Python)$ gem install cocoapodsNote
If the above commands fail because of permission issues, you need to run them with
sudo, e.g.sudo npm install -g <package-name>.
If you haven’t already, go to the Builder and create an account. Once signed in, create a new Blank app. For this quick tutorial, we’ll make a Restaurants and Food app, let’s call it Restaurants. To rename your app, click on the Blank app text, delete it and type in Restaurants.
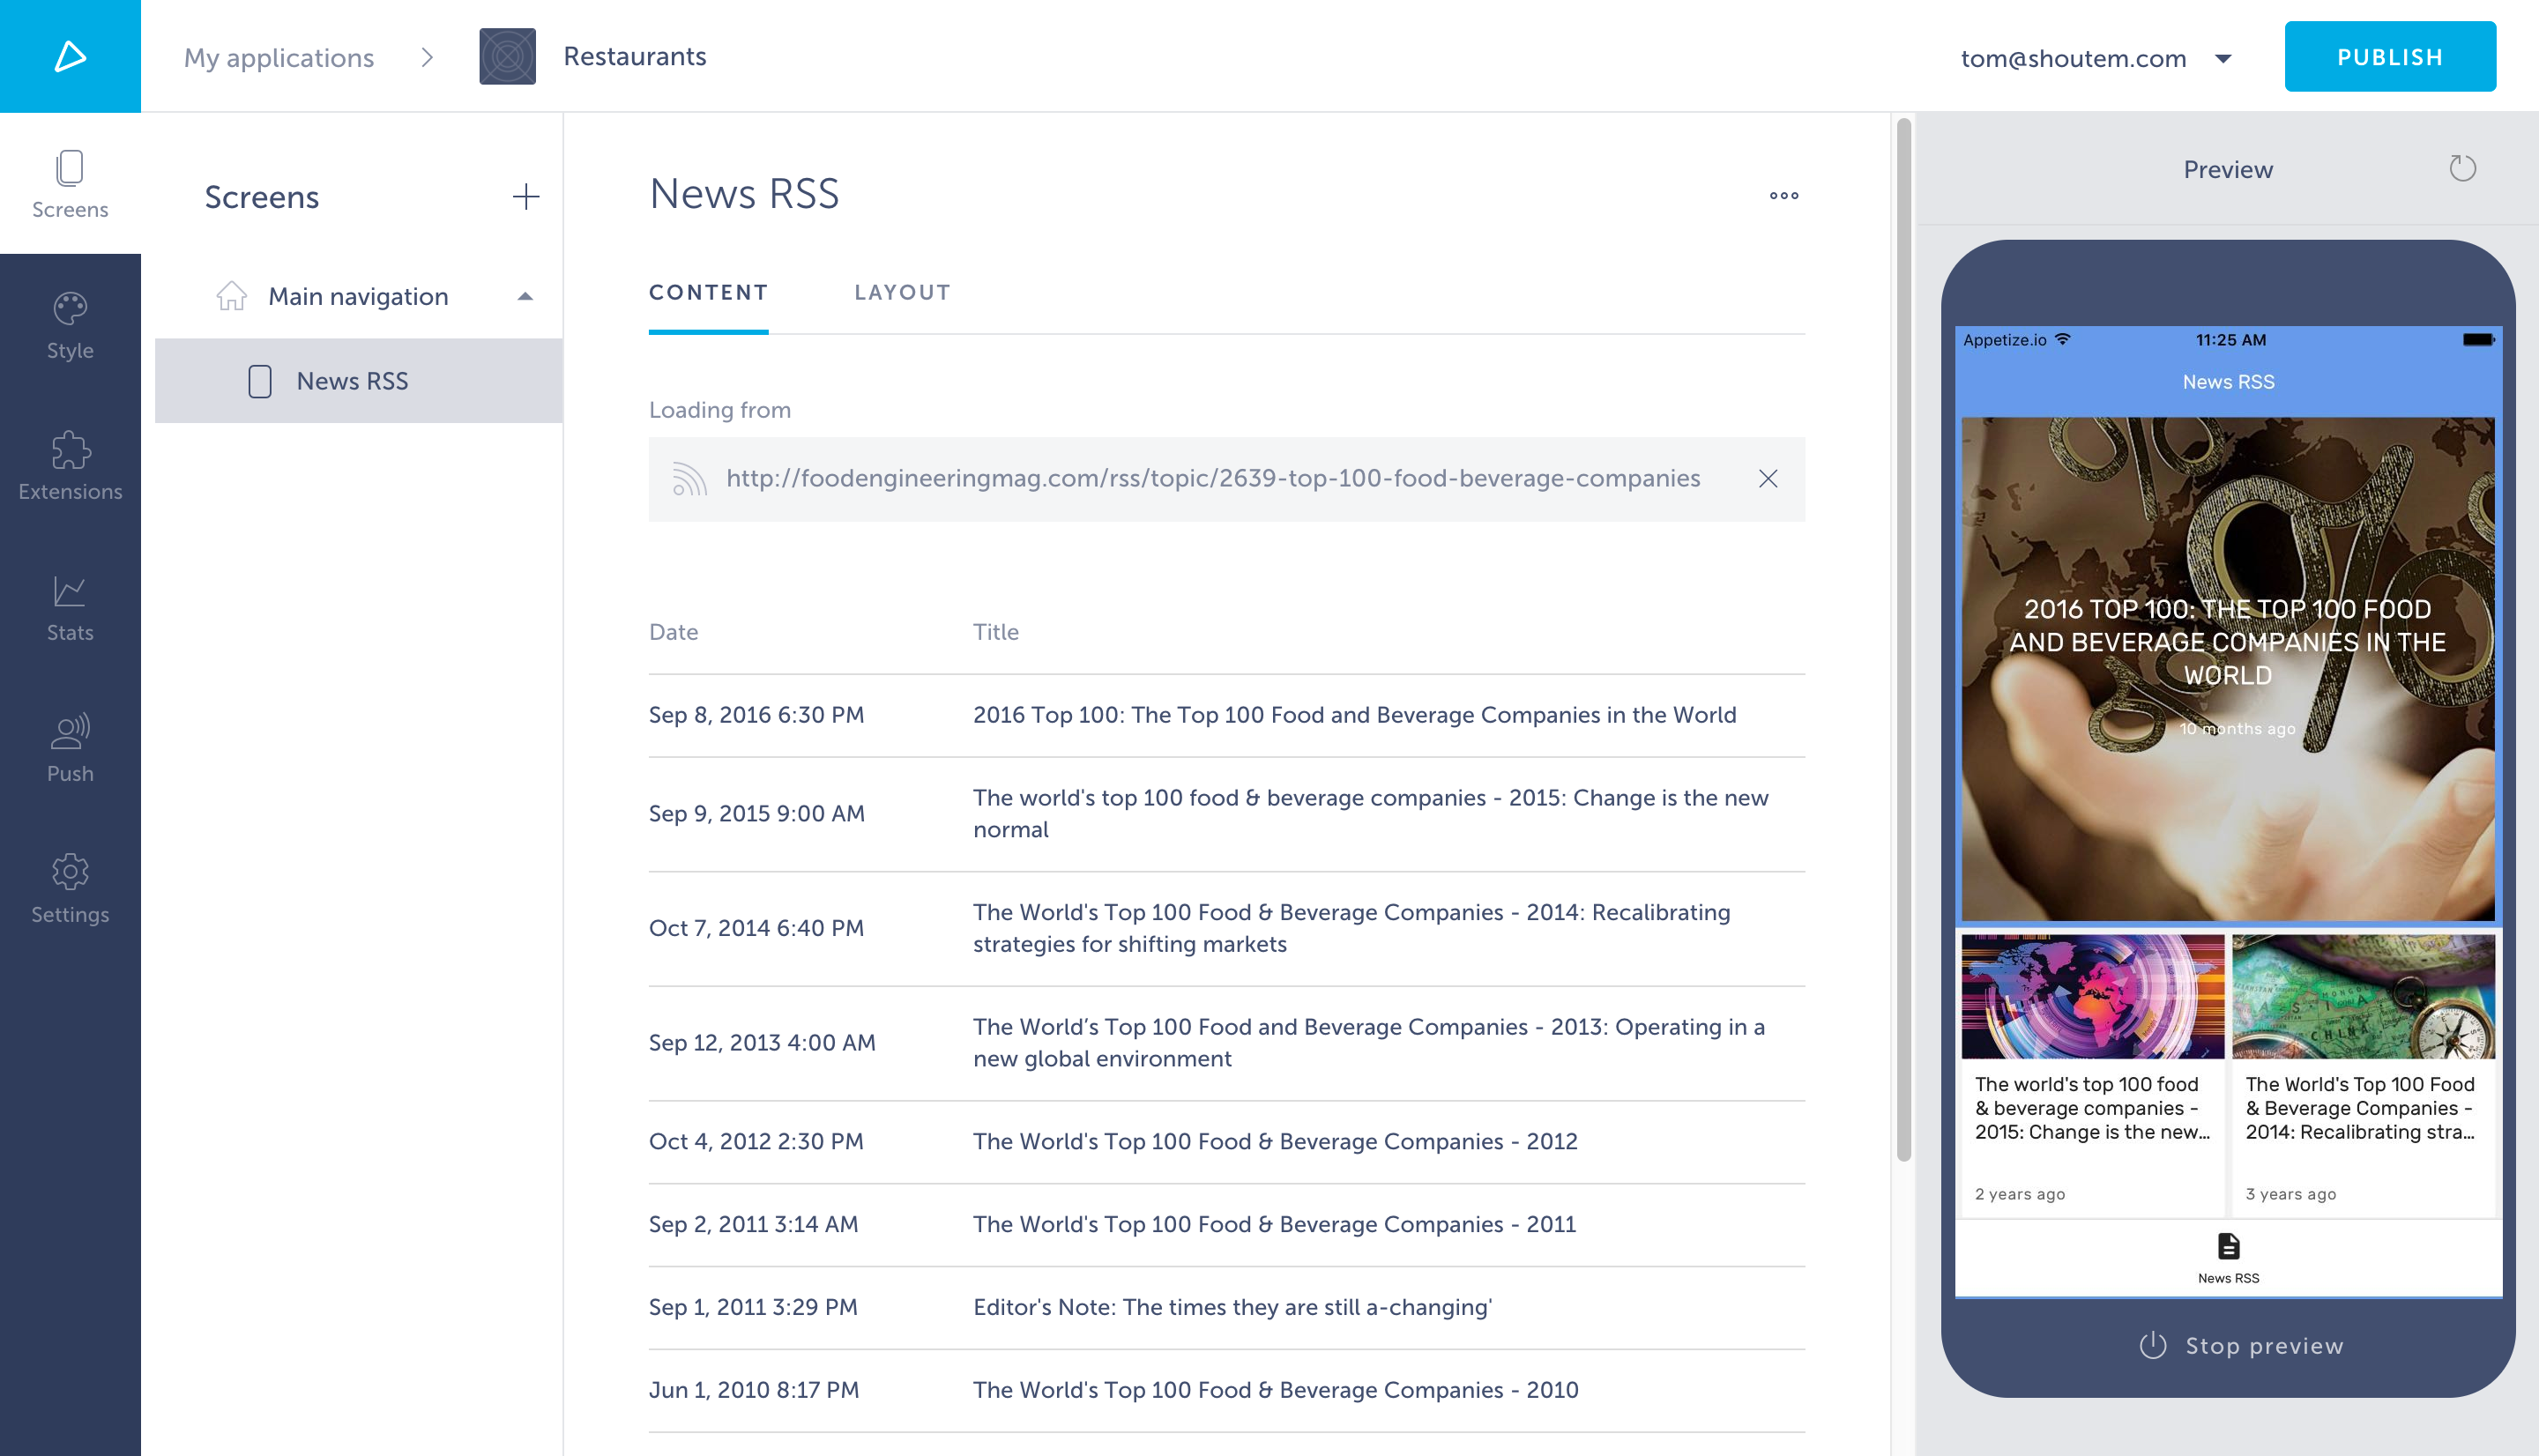
Let’s say we want to add an RSS feed screen to our app. To do that, click on the + button next to Screens and select the News RSS extension. Since the app is about Restaurants, to stick to the Food theme, let’s use a food related News RSS feed: http://foodengineeringmag.com/rss/topic/2639-top-100-food-beverage-companies
After you add this screen, it should look something like this:
As a developer, you use the Shoutem CLI to handle the lifecycle of extensions.
Start by using the shoutem login command with your Shoutem credentials (“tom” is used as a developer name in this example).
$ shoutem login
Enter your Shoutem credentials (obtained at https://builder.shoutem.com):
Email: tom@shoutem.com
Password:

Logged in as tom@shoutem.com.
Enter developer name.
Developer name: tom

Registered as `tom`.
Clone the app you made in the Builder to your machine by using shoutem clone and selecting your app from the list:
$ shoutem clone
Select your app: Restaurants (8074)
Cloning `Restaurants` to `Restaurants`
...
shoutem clone turns your app you see on the Builder into a Shoutem flavored React Native app locally. Once the cloning process is done, locate to Restaurants/extensions (where you can find all the extensions installed into your app) and create your new extension using shoutem init:
$ cd Restaurants/extensions
$ shoutem init restaurants
Enter information about your extension. Press `return` to accept (default) values.
Title: Restaurants
Version: 0.0.1
Description: A restaurants extension.

Initializing extension:
...

Extension initialized!
The shoutem init command bootstrapped the tom.restaurants folder with extension files. Let’s add a screen that we’ll use as a list of restaurants in the My first extension tutorial series, so we’ll name it List and give it a shortcut Restaurants.
A shortcut is the pointer to the starting screen of an extension. When you add screens to your app on the Builder, you’re actually adding the shortcut to that screen.
$ cd tom.restaurants

$ shoutem screen add List
? Screen name: List
? Create a shortcut (so that screen can be added through the Builder)? Yes
? Shortcut name: Restaurants
? Shortcut title: Restaurants
? Shortcut description: A shortcut for List
...
Success
The previous command created a List screen in app/screens/List.js file. Any time you make a new screen it’ll be a simple Hello World screen. To fit the app, let’s change the screen so it says Let's eat! instead of Hello World!:
#file: app/screens/List.js
export default class List extends Component {
  render() {
    return (
      <View style={styles.container}>
        <Text style={styles.text}>Let's eat!</Text>
      </View>
    );
  }
}
Now push what we’ve built to Shoutem with shoutem push:
$ shoutem push
Checking the extension code for syntax errors...
Uploading `Restaurants` extension to Shoutem...
Success!
And install the extension into the Restaurants app using shoutem install:
$ shoutem install
Select your app: Restaurants (8074)

Extension installed.
See it in the builder: https://builder.shoutem.com/app/8074
Note
You should run
shoutem configureafter installing new extensions into your app, so your local clone is synced with the Builder app!
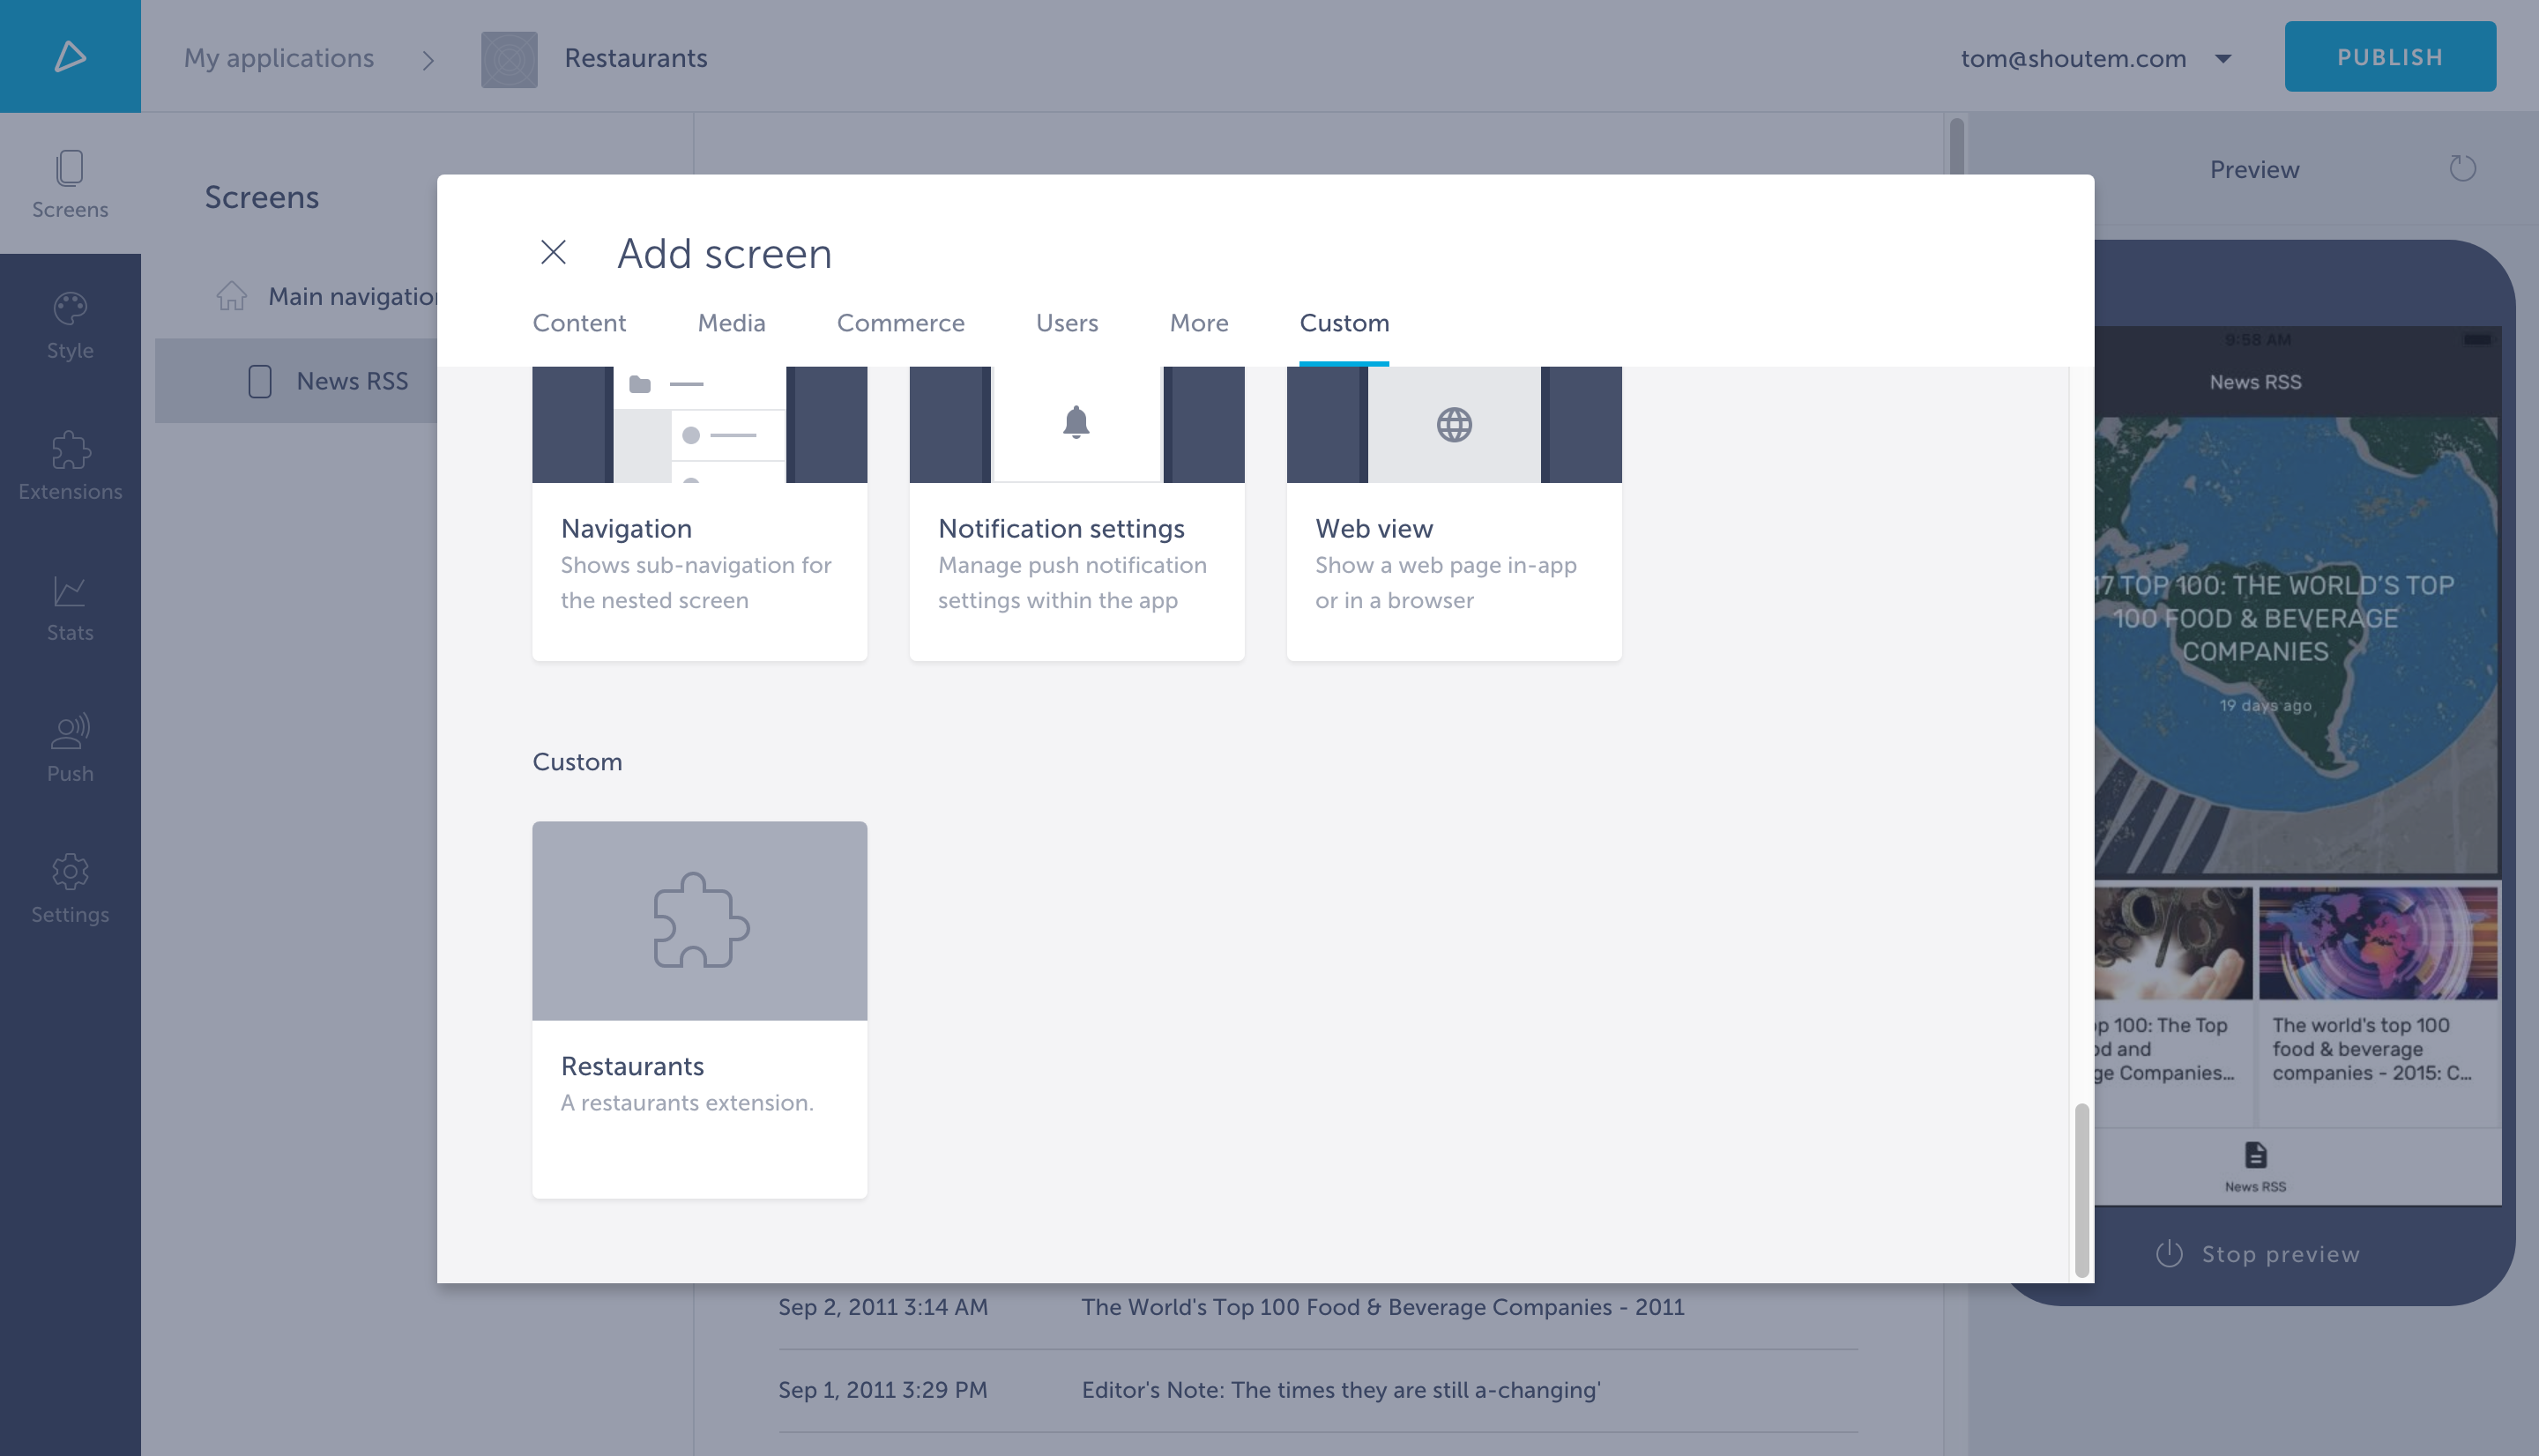
Now we need to add the screen to the app. Open the app in the Builder. Click on the + next to Screens and select the Custom category. You can see your Restaurants extension there. Click on it to add it’s screen to Main navigation, just like you did with the News RSS.
Great! Let’s make our newly created extension’s screen the Starting Screen for the app. Just drag it to the top of Main navigation and you’re done. Now when you preview the app, this is what you’ll see:
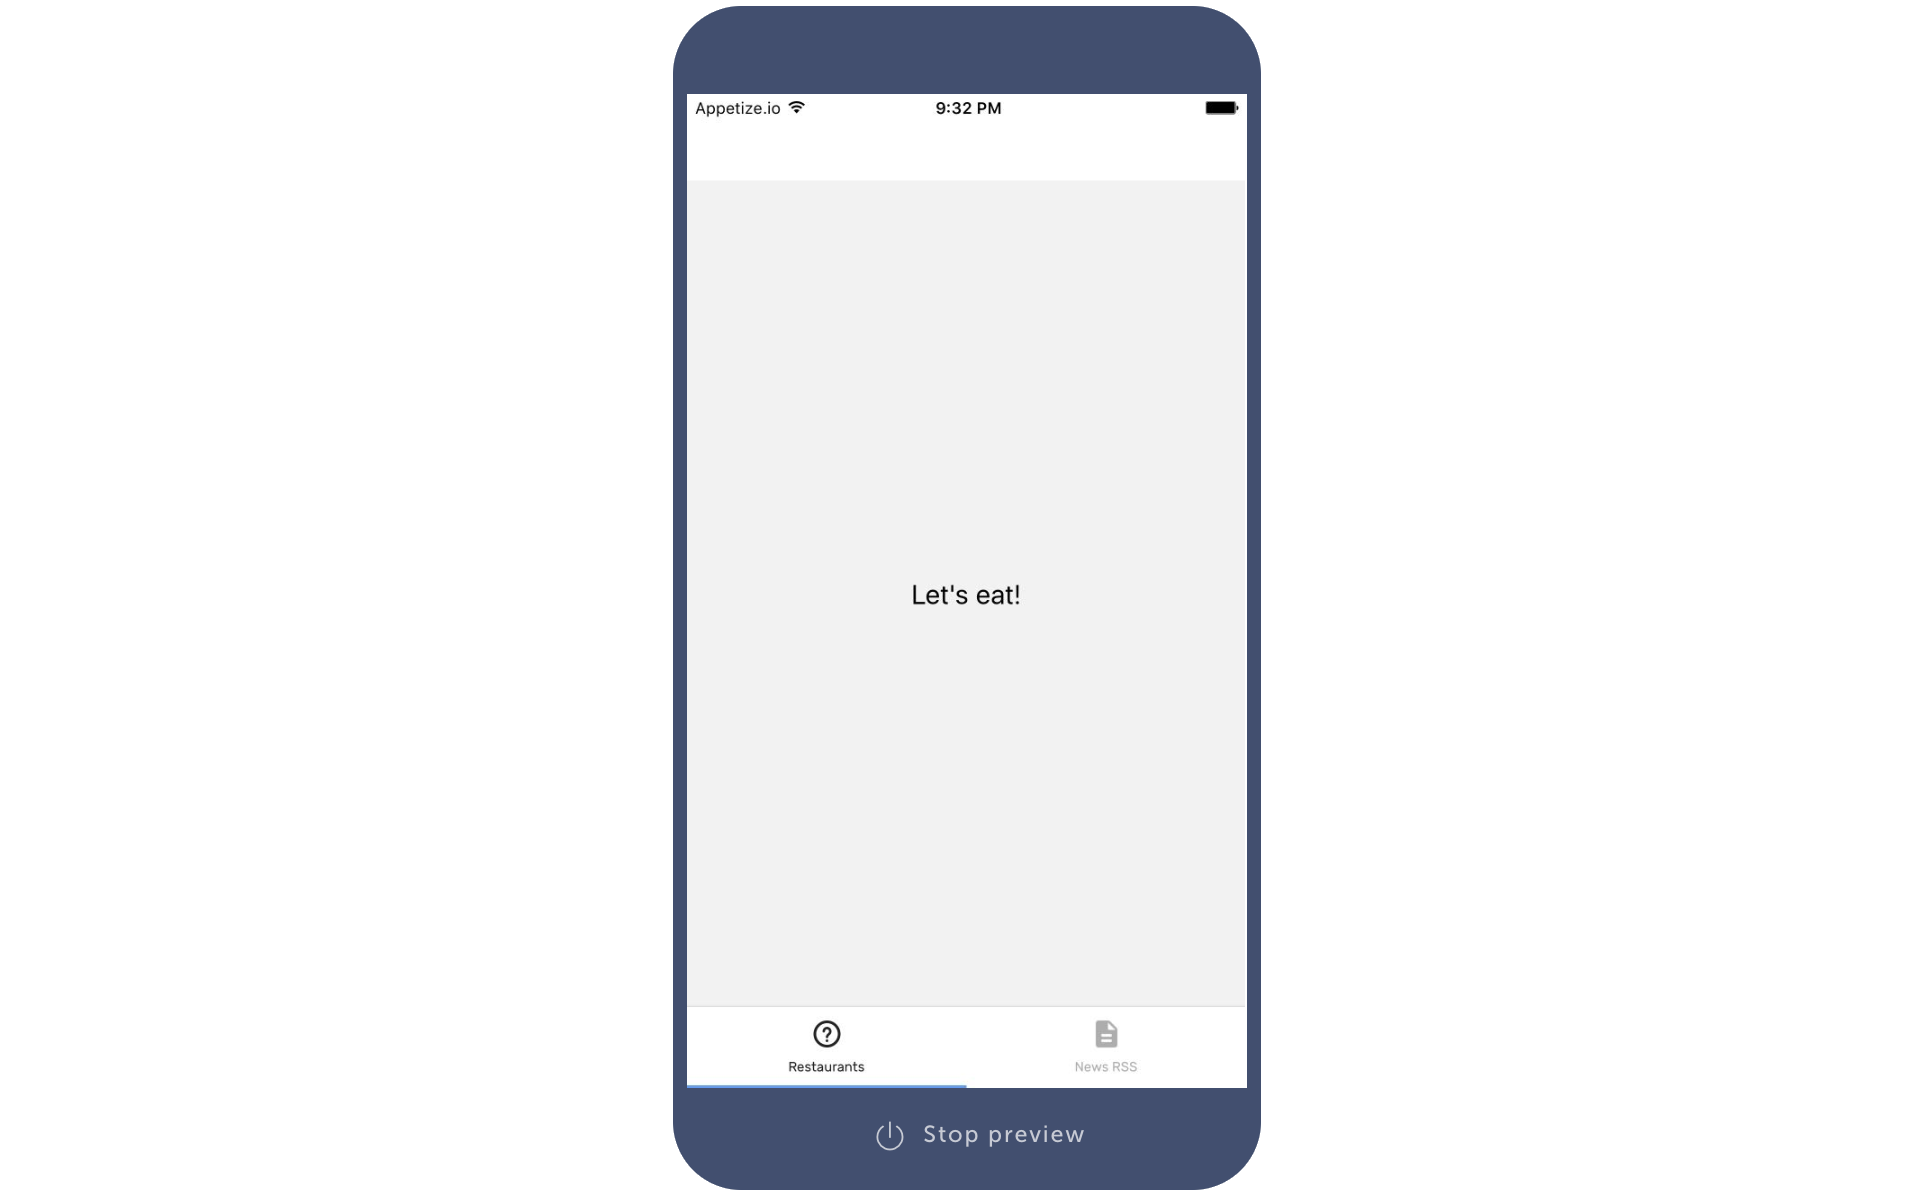
Well done! You just built your first app using your own custom built extension!
To leverage the full power of Shoutem, we’d suggest you go through the My first extension tutorial, which explains the underlying concepts in more detail.